Getting Started
Table of contents
Before you start
If you haven’t already, sign up for an account and get started at browndash.com.
For an overview of the Dash interface, check out the Overall Environment page, which will introduce you to how to navigate and organize your Dashboards.
Creating Documents
There are multiple ways that you can create documents in Dash. The essential ways are as follows:
- Begin Typing to create a text document, simply click anywhere on the freeform and begin typing!
- Drag and drop: drag any of the accepted file types from your computer or a webpage and drop it into your dashboard. This includes images, videos, audio, pdfs, and more!
- Import: import using the import menu on the left hand side
- Type
:to bring up the document menu, from which you can choose a document to create. You can search for a specific document as well. If you are in Stacking or Schema view, you can click on+ New, and type a colon to open the colon menu.
Documents
Everything in Dash is considered a document. Documents store data as arbitrary key-value pairs.
Document Types
Dash supports several document types, each with unique capabilities. The primary types are as follows:
- Text: rich (RTF) text documents that support various text and hypertext features
- Webpages: HTML webpages from external sites
- PDFs: PDF files created outside of Dash
- Temporal Media: audio and video files
- Ink: ink strokes drawn with the pen or polygon tool
- Images: digital images from external sources
Nested collections
You can also created nested collections in Dash. The easiest way is through the colon menu (type : anywhere to bring it up). You can add any document to the new collection as you would to the main freeform, and zoom and pan as well.
You can also create a collection through right clicking and dragging on the documents you want to group into a new collection (marquee selection).
Selecting Documents
There are three ways to select a document in Dash. To select a single document, simply left-click or right-click the desired document to bring it into focus.
You can select multiple documents via marquee or shift-click.
To use the marquee tool, right-click on the canvas to invoke the marquee; then, drag the bounding area to include your desired documents.
To use shift-click, hold down the shift key while left-clicking on multiple documents.
To select text in PDFs and webpages (not text documents), click and drag to highlight the desired text.
Editing Documents
The following editing functions are universal to all document types:
-
Document chrome: floating set of tools to change document properties
- Accessed via single selection (left or right click)
- Accessed via single selection (left or right click)
- Properties panel: panel displaying document type-specific actions
- Accessed via (A) the double arrows in the top right or (B) the single arrow on the right edge of the screen
- Accessed via (A) the double arrows in the top right or (B) the single arrow on the right edge of the screen
- Right-click/Context menu: menu displaying actions on documents
- Accessed by right-clicking anywhere on the target document or selecting the three bars menu at the bottom of the document chrome

- Accessed by right-clicking anywhere on the target document or selecting the three bars menu at the bottom of the document chrome
All documents also have a context-sensitive toolbar. The toolbar contents vary depending on the document type.

Transforming Documents
There are three main ways to transform a document: move, resize, and close.
- Move
- Selected documents: click and drag on the title to move the document, then drop at the desired location.
- Unselected documents: hover over the document to bring it into focus, then click/drag/drop to the desired location.
- Resize
- Size: click and drag the corner handles in the border chrome.
- Border radius: click and drag the small circle in the bottom right corner of the border chrome.
-
Close
- Selected documents: click on the leftmost “x” icon in the header chrome to close the document. Alternatively, click on the trash icon under the “actions” subpanel of the properties panel to close the document.
- Unselected documents: right-click anywhere in the document to bring up the right-click menu, then click “close”.
-
All recently closed documents can be accessed through the “My Recently Closed” section in the files portion of the left side-bar. From here, closed documents can be viewed or dragged back onto the canvas.
Viewing Documents
In addition to viewing your documents in the freeform, you can also open documents in an overlay view called Lightbox View. To open this view, either double-click a document, or click on the green icon at the top-right of the document chrome.
Note that you can interact with the document in the same way you would a document in the freeform.
Views
Views represent various ways to visualize a collection. Users can toggle different views through the dropdown menu in the leftmost region of the context-sensitive toolbar. Alternatively, they can open a new view as an alias by right-clicking on the current collection and selecting the desired perspective. The default view is freeform.
Freeform
Description: unbounded 2D space in the form of a canvas
Good for:
- User-driven spatial organization and document layouts
- Visualizing document relationships, e.g., neighborhoods/clusters of related materials, nesting, and linking
- “Raw” document views to get a sense of individual layouts
Schema
Description: table view of documents. Each document is a row, and each column displays the contents (values) stored with the unique document key. Nested collections can be expanded in-line. The title, author, date last modified, text, and context columns are displayed by default, and users can manually add more columns with existing keys or user-defined keys.
Good for:
- Maintaining structured viewing and sorting of data
- Manipulating documents via key-value pairs
- Working with search functionality
- Navigating Dash an an “Excel sheet”
Stacking
Description: scrollable stack of documents.
Good for:
- Having a structured list view of all the documents of the collection while still seeing live previews of the documents
- Navigating Dash as a vertical scrolling page
Notetaking
Description: multiple scrollable stacks of documents. A multicolumn version of stacking view.
Good for:
- Viewing documents side by side for comparison or note-taking
- Sorting documents into categories
- Navigating Dash as a “Trello board” or table
Links and Anchors
A link is a bidirectional reference from one document to another. The link itself is also a document, so we can add tags and key-value pairs to it. The same source selection (aka anchor) can link to multiple destinations, which range from an entire document to a portion of a document (eg. an annotation in a PDF, highlighted phrase in text, etc.)
For examples on linking between parts of documents, check out the Annotation and Markup section below.
Creating links
There are two ways to create links: drag and drop or linkboard.
Drag and drop creates a 1:1 link between documents that both appear on the screen at a given time, whether in the same tab or in two different tiles.
- Select the desired source document and navigate to its bottom toolbar.
- Click and drag the link icon. Drop it onto the desired destination document.
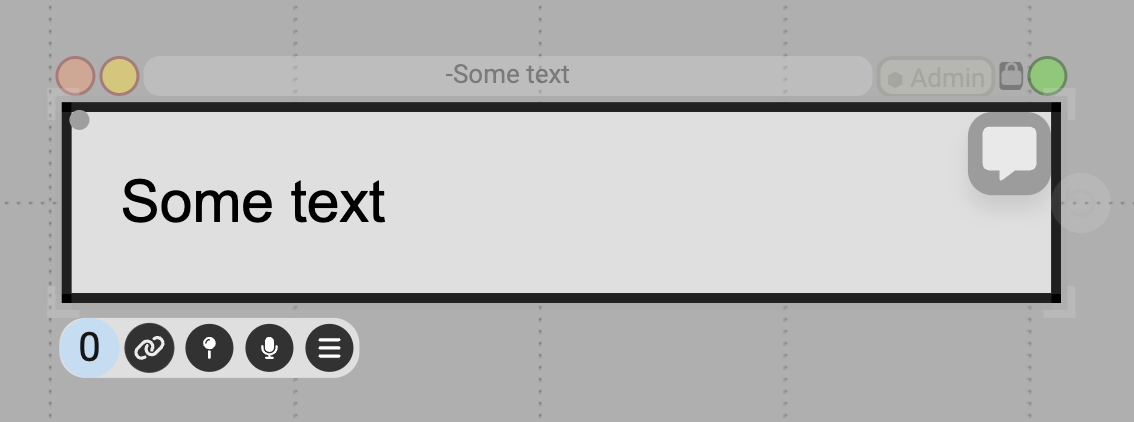
Once a document is created, two messages will appear: one confirming successful link creation, and another prompting users for an optional link label. Labels may be modified later thorugh the link menu. The document will then display a number displaying the number of links it contains.
Linkboards function as a clipboard: they “copy” source documents to the linkboard until they are cleared or linked to another source. This is convenient for creating multiple links with the same source and/or creating links while maintaining another workflow.
- Select the desired source document and navigate to its bottom toolbar.
- Left-click the link icon.
- A popup bar will display at the bottom of the screen with two options: one to toggle displaying or hiding optional link labels, and one to exit linking mode.
- Complete the link by clicking on the desired target document and selecting the second link icon that appears in the bottom menu.
Following links
Once a link is created, a blue dot will appear in the document’s bottom left corner both when you hover over the document and click on the document. The number represents the number of links on the document. Clicking on the dot displays all links in a list; hovering over each list item shows a preview of the document it links to.
Selecting an item from the list will follow the link from source to destination.
The default following behavior is to pan the freeform so that the destination document is in view (if it isn’t already) and highlight it in orange. You can customize the link following behavior and more in the link editing section of the properties menu.
If you toggle the hand pointing right icon on, clicking on the document will now follow the first linked document.
Editing links
Once a link is created, a blue dot will appear in the document’s bottom left corner both when you hover over the document and click on the document. The number represents the number of links on the document. Clicking on the dot displays all links in a list; hovering over each list item shows a preview of the document it links to. Clicking the pencil icon to the left will open up the properties pane on the right, where you can edit the link.
In the link editing section of the properties pane, you can add a link relationship and description, toggle the display of the link line, control the link following animation behavior, and more.
One common adjustment you might want to make to the link following behavior is centering and zooming into the destination document rather than just panning the freeform until it is in view. To do this, toggle the Zoom % option on. You can also adjust the zoom level.
In Dash, you can also create links between parts of documents. Read the Annotation and Markup section below for examples of how to do this!
Annotation and Markup
Media documents (eg. PDFs, webpages, images, videos, audio) currently support user annotations and markups. Note that certains ways of annotating provide a way to link between parts of documents rather than whole documents.
There are several ways to add annotations:
-
Top-right IconClick on the annotation icon at the top right of a document to open the annotation sidebar.
-
HighlightFor text, pdfs, and webpages, you can highlight a piece of text and select the annotation icon that appears. This also creates alinkbetween the annotation and selected text. Following the link from annotation to selected text will scroll the selection into view. Clicking on the selected text will follow the link and scroll the annotation into view.
-
SearchAfter highlighting, you can also click the search icon to search for a document to link to.
-
MarqueeClicking (left-click) and dragging within an image, webpage, PDF, or video will create a rectangular marquee selection, allowing you to highlight the selected region and create an annotation associated with it. For webpages and pdfs, you can simply click the annotation icon to add an annotation. For other media types, you’ll need to drag the annotation icon to another part of the document or freeform to create the annotation. This also creates alinkbetween the annotation and marquee selection.
-
Selection to Another DocumentTo create a link from a selection on a document to another document, first perform the selection (usually left-click and dragging). Then, navigate to the bottom toolbar of the overall document, and drag the link icon to the document you want to link to (create a normal link). Because the selection persists on the source document, the selection will be linked rather than the whole document.
-
Temporal mediaOn audio and video documents, you can drag a section of the timeline to create an annotation on that time range. You can link other documents to the annotation, and following that link will play that region of the audio or video.
-
EmbedType directly on a media document (This can be done on images, pdfs, webpages, and videos).
-
InkDraw ink strokes directly on a document.
Presentation Trails
Presentation trails allow the user to navigate through documents in a predefined path, similar to a Prezi or Slides presentation, but with added, flexible functionality. You can pin any document to a presentation trail.
Creating a Trail
There are two ways to create a trail:
- Creating a new trail from the trails panel on the left sidebar.
- Pinning a document or a view.
After creating a trail, a new tab will open up displaying the slides of the trail. You can click on each slide to view and transition between the different views and documents you’ve pinned.
![]()
Adding documents to a trail
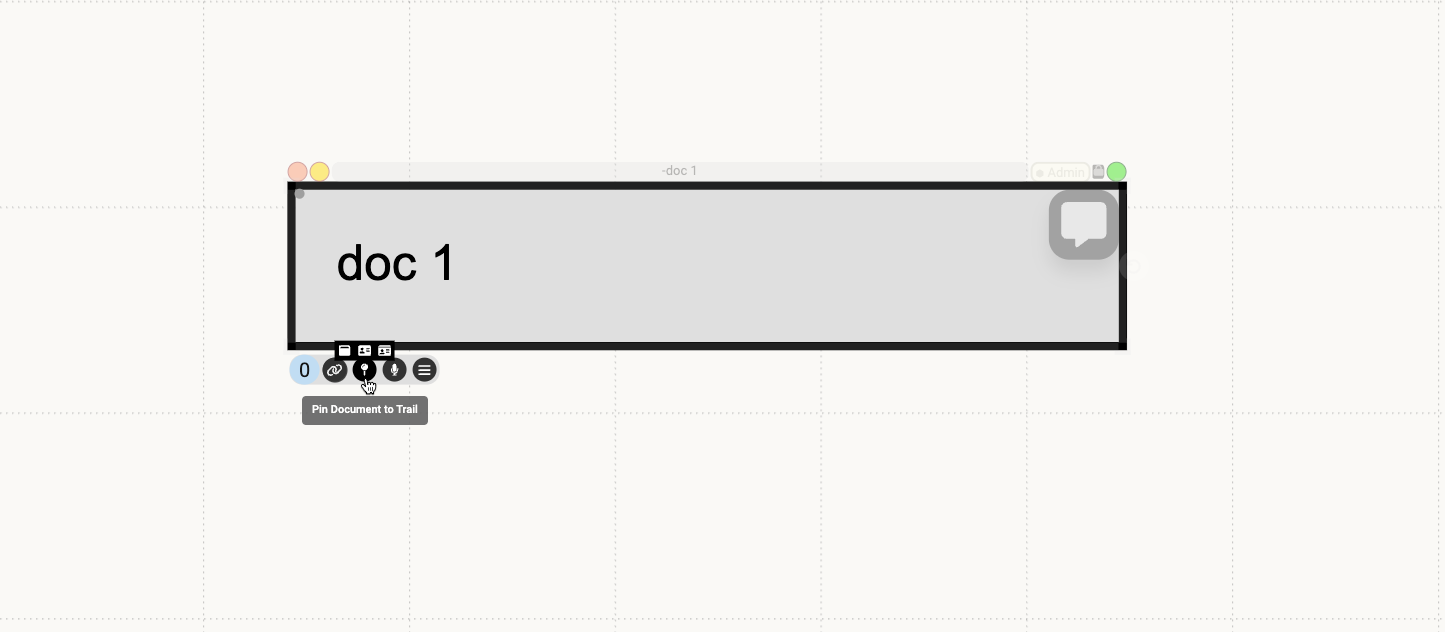
Regular pin:
To pin any document to the presentation trail simply select a document and use the ‘Pin’ button in the document decorations to add it to the presentation trail. If the user has not yet created a presentation trail, then this button will also create a new presentation trail and add that specific document as the first slide in the trail.
Pin with view:
Pinning with view pins the canvas with the specific pan and zoom you have it set to, allowing you to show a view of multiple documents laid out on a collection. There are two places where you can pin with view:
- Top menu bar: this pins the canvas with the pan and zoom of the tab as you are currently viewing it
- Marquee menu: this option appears when you right click and drag on the canvas to create a marquee selection and pins the canvas with the marquee bounds as the viewport

You can customize how the document should be pinned by hovering over the pin icon, allowing you to pin documents while preserving their layout and content.
This, combined with the ability to group slides (allows multiple slides to play together) can produce cool results like this:
Check out the details on how to pin with layout and content here, and how to group slides here.
Reorganizing slides
To reorganize the slides in your trail, simply drag and drop the slides to the order you want.
Customization
Clicking the double arrows in the trail tab wil open up a pane where you can customize the transition behavior of each slide.
Presenting a trail
Now that you’ve created a trail, you can walk through it by entering presention mode!
Click on the present button in the top right to enter present mode. You can use the arrows to navigate between slides, or select the play icon to autoplay the presentation.
Alternatively, you can select the mini-player option from the dropdown to present with a mini-player instead.
Important Notes
- Closing a document does not delete the links attached to it. Following a link to a closed document will reopen the document in a new tab. Alternatively, links can be deleted from either the links menu of a document they are attached to or from the properties menu on the right side.
- The undo/redo stack in the bottom left of the canvas will turn yellow if it is not working properly. This will occur while in the middle of an action, but if it remains yellow, the simplest fix is to refresh your browser.
Unsure of how to navigate the overall Dash interface? Check out the Overall Environment page.